Get Started with LIFEID in Three Easy Steps
2.
REGISTER a new profile
3.
ACTIVATE your LIFEID in your profile by clicking ‘ADD LIFEID’ and entering the 6-digit code on the product
How to setup a profile
Activate LIFE ID & other instructions
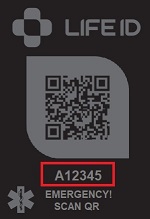
1. Identify your LIFEID CODE
Your LIFE ID Medical ID has a 6-digit CODE below the QR like the image shown
Quick Note: You can Add and Delete as many LIFE ID codes to your profile as you wish
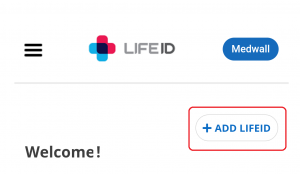
2. Log In & Activate
‘LOG IN’ and activate LIFEID by clicking ‘ADD LIFEID.’ Then Enter the LIFEID CODE (6 digit ID number) on your LIFEID product and SAVE.
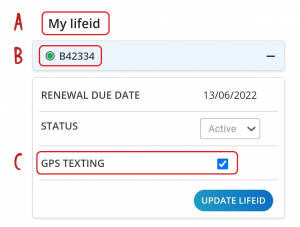
3. Verify Your LIFEID code & activate GPS
A) Go to ‘My lifeid’ in your profile
B) Make sure the LIFEID CODE you entered is showing and is ‘Active’
C) Click here to activate/deactivate GPS TEXTING to emergency contacts
4. Fill & edit Your Information
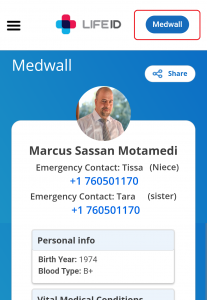
Start with basic information. Add more info as needed to complete your record. You can add and edit information anytime.
Click on Medwall in your profile dashboard to preview
Add accounts to your profile
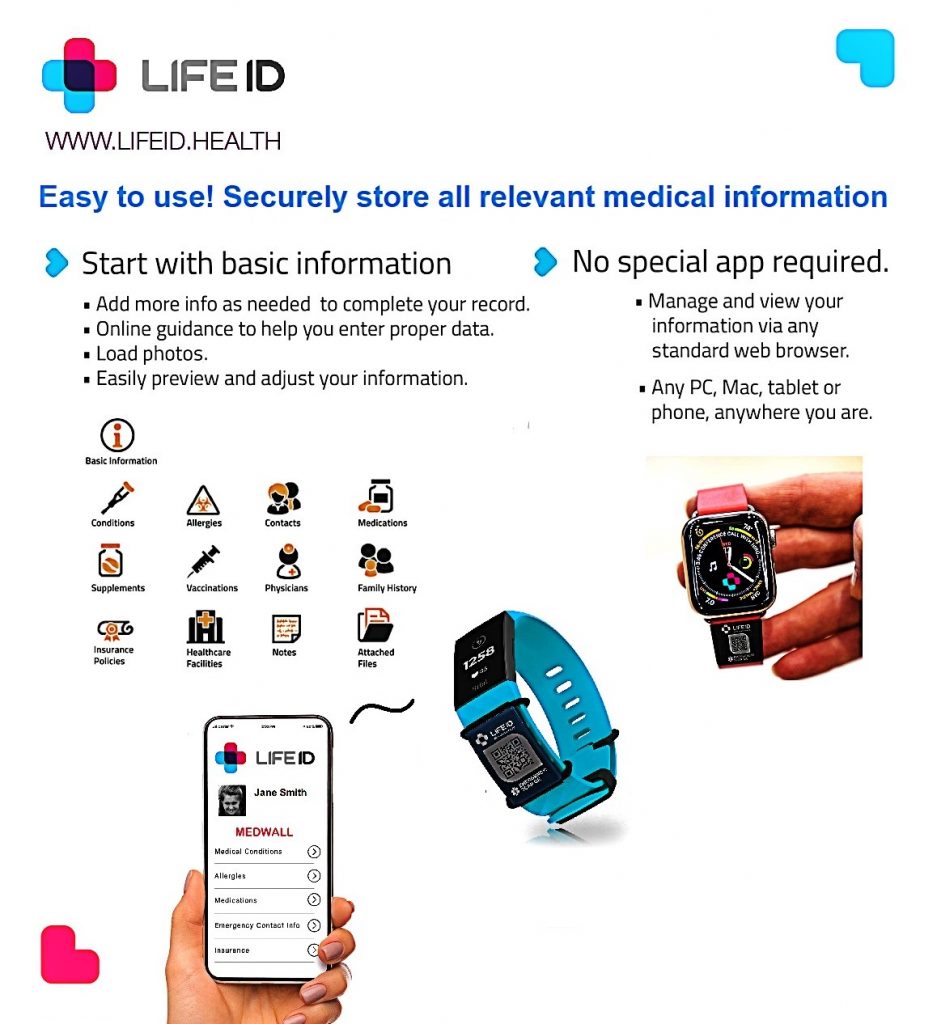
How Are LIFE ID Medical IDs Used?
If the worst happens, LIFEID speaks for you when you cannot. When first responders or medical professionals scan the QR code on your LIFEID, they instantly get access to the emergency information you stored on your profile on LIFEID.
All phone cameras are QR code readers. Turn on the camera app and just hold the camera in front of the QR code until it reads it.
If First Responders don’t have a phone they can click on the FIRST RESPONDERS button at the bottom of the home page of LIFEID.health and then type in the LIFEID code on the front of your LIFEID medical id.
